Sunday, January 11, 2009

How to Make an Origami Cat

This origami cat is one of the simplest animals that you can make out of folded paper.  It is easy to customize the final look of the cat, to make it your very own. 


Origami Cat


Start with a square piece of paper.  Fold and crease it along the diagonal like so:


ready to fold origami cat    origami cat - first fold      


The fold the left corner on top of the right, and crease the fold:


cat - second fold    creased second fold - cat


Now unfold the triangle so it lays flat again.  Then fold each corner upwards to make the ears:


cat - unfolded    cat - one ear up


 Now fold the top corner over towards you:


cat - both ears up    cat - head folded over


Now flip the cat over.  Optional: draw eyes, a nose and whiskers on the front.  What could be simpler!


finished cat    finished cat with face

Origami Elephant

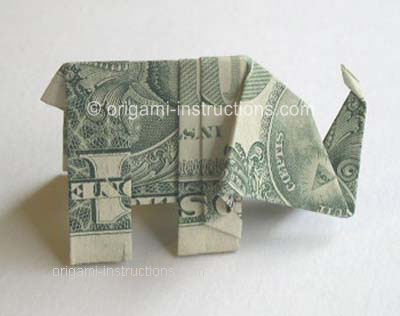
The origami elephant from a dollar bill is sure to amuse and delight your friends, dining partners and waitpersons.


It should be considered somewhat advanced origami. 


If you have trouble making an origami crane, this one might be a bit much. 


We'll make frequent use of the terms valley fold and mountain fold. 


If you do not know what these are, then you are in way over your head :) 


Actually, you can learn about these folds right here.


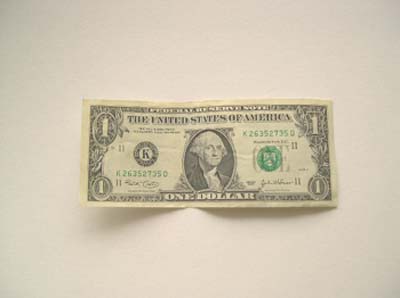
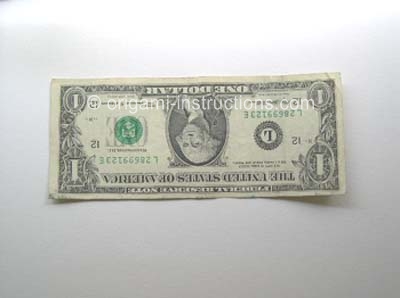
Start with a U.S. one dollar bill.  Other currencies or denominations would work, but this one has a special "feature" that will show up later. 


Place the bill in front of you, face up but upside down (again, you'll see why later). 


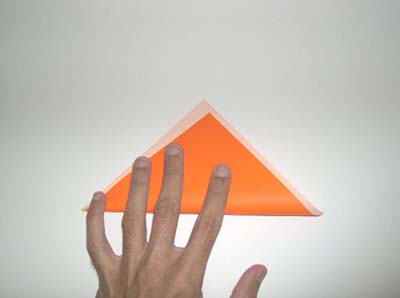
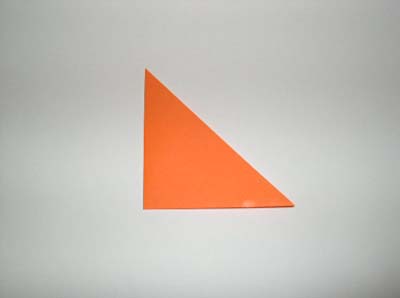
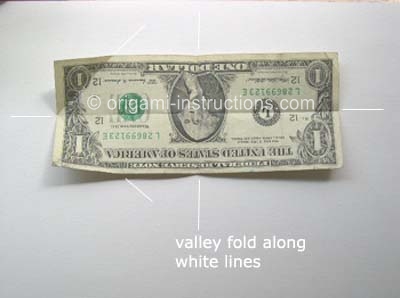
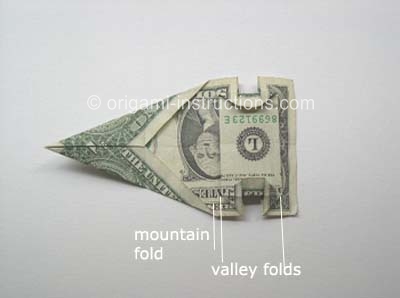
Now make valley folds at the halfway points of the bill, as well as the top corners. 


Origami Elephant


dollar bill ready to fold into origami elephant        dollar bill creased


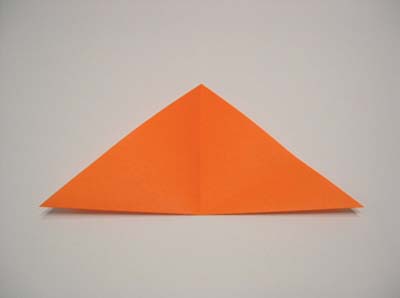
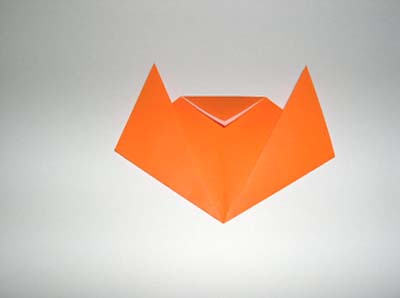
Now valley fold the top corners as if you're making a paper airplane


top corners folded        top corners folded again


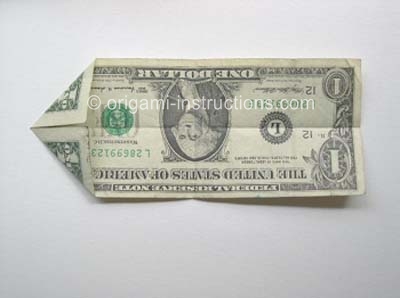
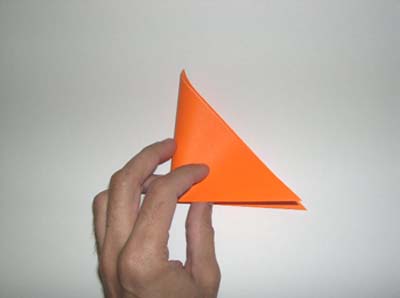
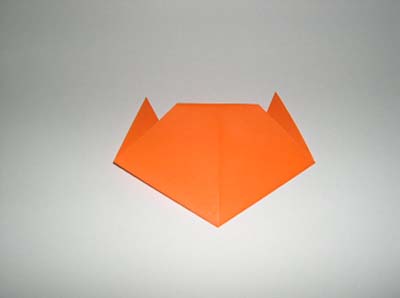
Then fold the top pointed corner down, at the white line shown.  With us so far?  Good! 


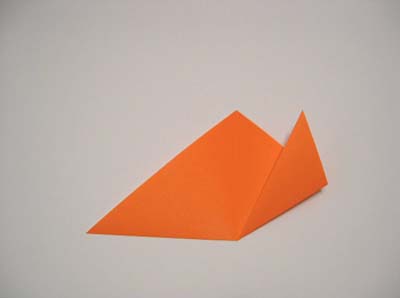
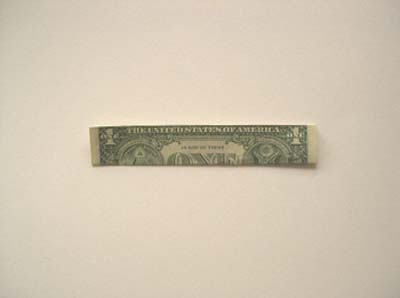
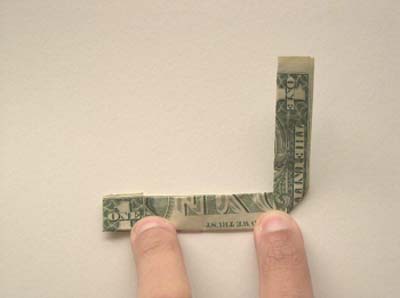
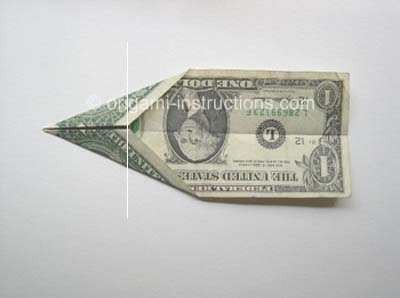
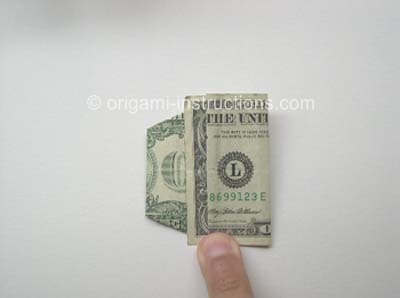
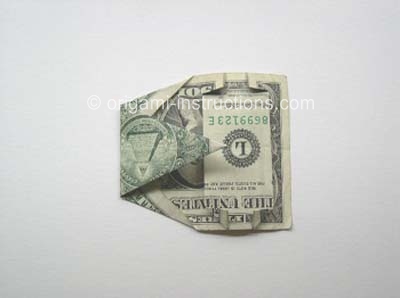
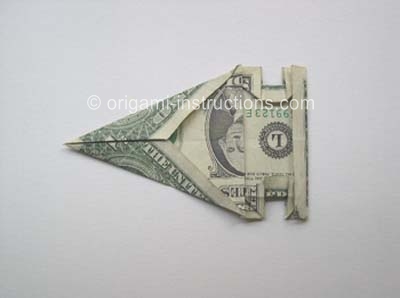
Now fold the right edge of the bill back behind, until the bill is doubled as shown.  Crease the fold.


top point folded over        making crease A


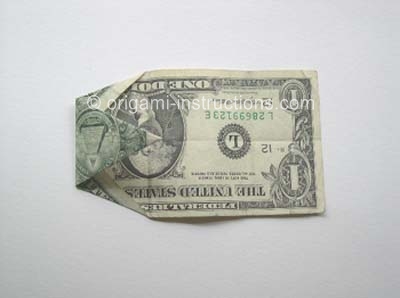
Next unfold the bill.  The fold the right edge back again, until it lines up with the crease you made in the previous step. 


Make another crease. 


crease A        making crease B


crease B        crease C


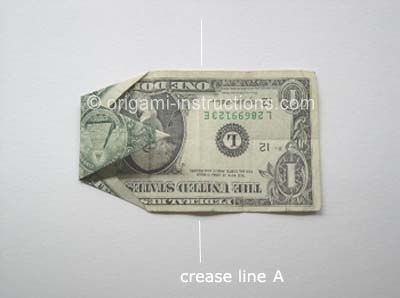
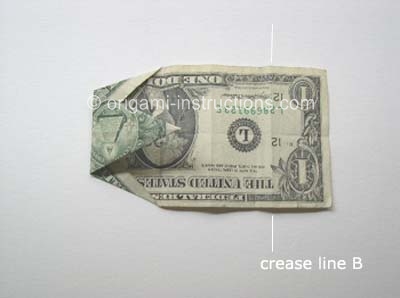
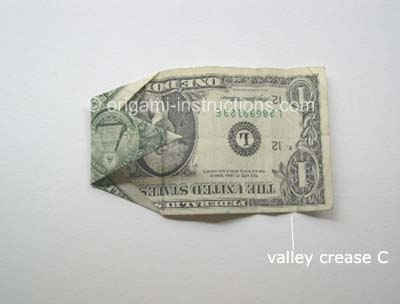
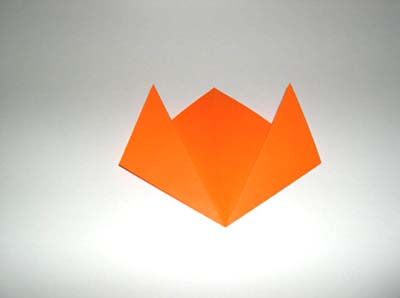
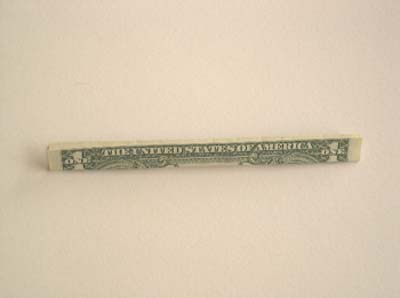
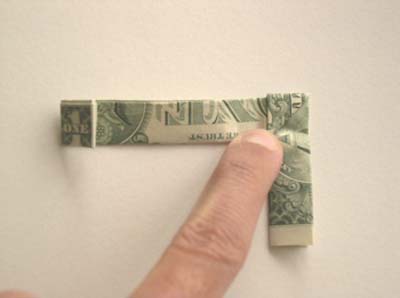
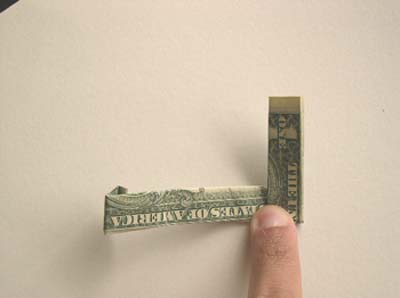
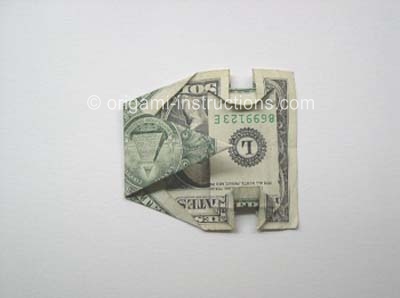
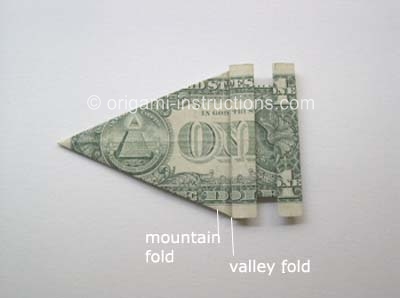
Now fold along crease A...then B and C, as shown in the two photos below.


folding crease A        folding crease B and C


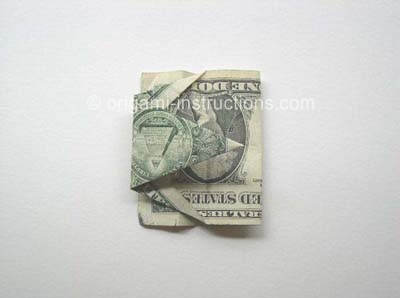
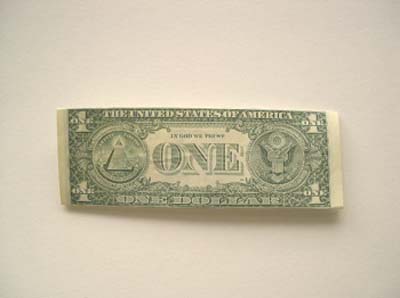
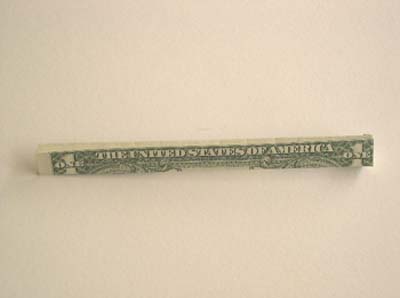
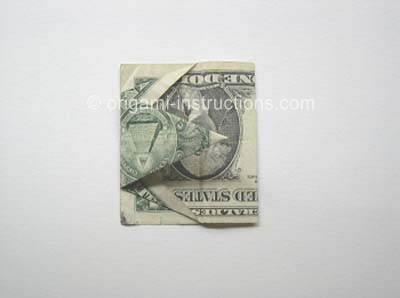
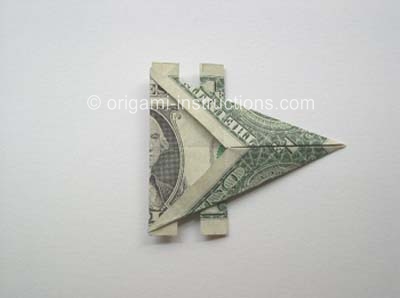
The following photo shows what the backside should look like. Now turn the folded bill back over.


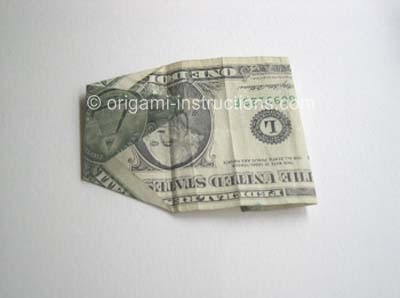
You will now make a valley fold approximately where the white line is in the photo below.


backside of dollar bill after creases A, B and C       valley fold to make center channel


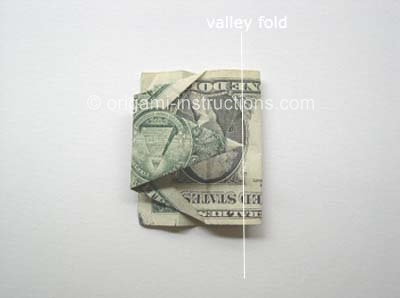
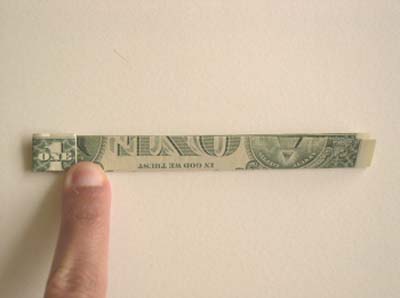
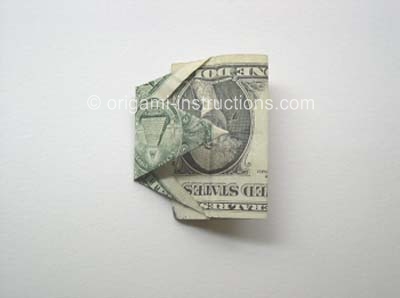
This will give the result below. This stage is shown from the backside in the next photo.


center channel view of center channel from behind


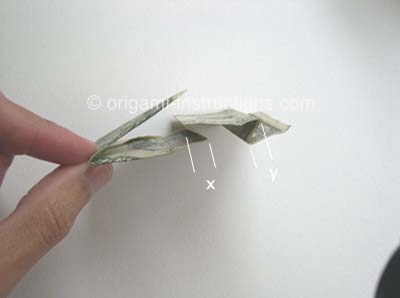
For clarity, we're showing this stage from the side also. The idea is to get the distance "x" to be equal to the distance "y".


center channel edge view center channel front view again


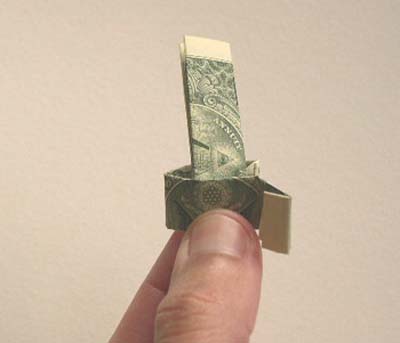
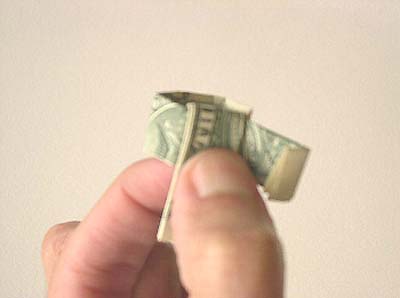
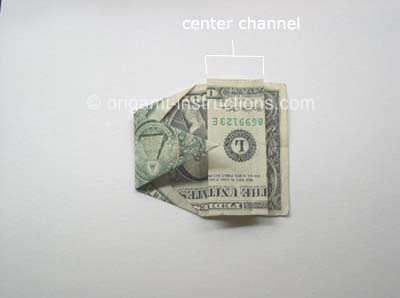
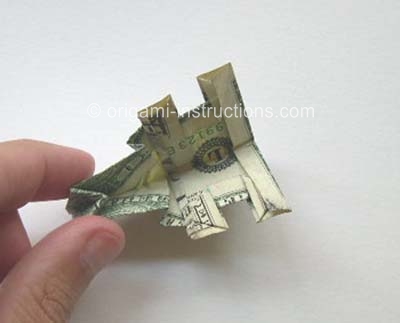
Now fold the 4 corners of the center channel as shown below. Next, squash fold the top and bottom as shown.


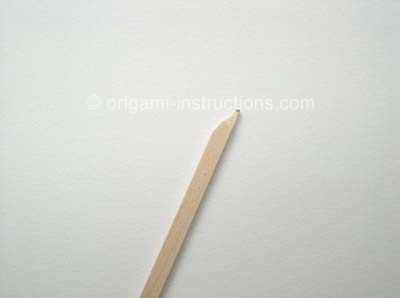
It can be a little tricky to get these small pieces folded and creased, you may need help from a rounded tool as shown. A car key might help.


corner fold center channel        squash fold center channel


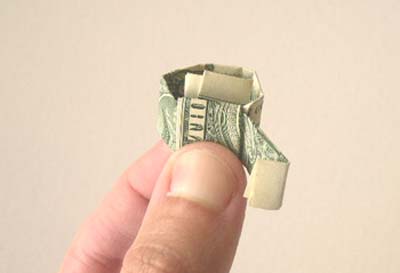
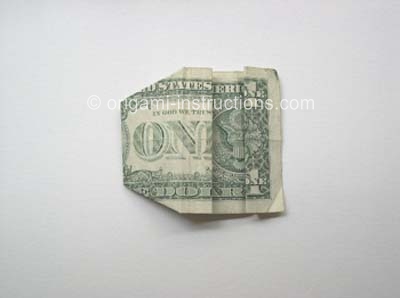
Now unfold the top pointy part.


wooden tool        pointy elephant trunk unfolded


Make valley folds on the outside of the center channel.


Also make a mountain fold just in front of the channel, so that this piece overlaps the channel.


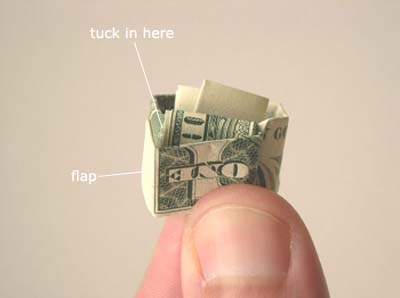
Now flip the piece over. Whew! This would be as good a time as any to break for drinks :)


Ready again? OK, make another valley fold at the front edge of the front legs.


And a mountain fold a short distance in front of that.


The idea is to overlap the front legs by about half their width.


overlaps of center channel        flip over, more folds


These next two photos show those folds:


valley fold        mountain fold


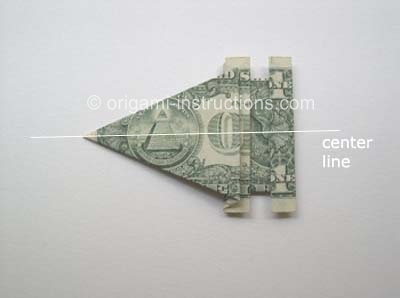
Now fold the whole thing in half down the centerline as shown, using a mountain fold.


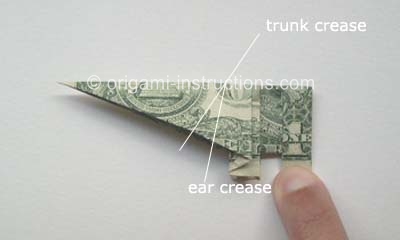
Next you will make the ears.


Fold the point of the trunk back as shown to make the ear crease line (ignore the trunk crease for now).


Note the ear is angled forward slightly.


Unfold the trunk then use the crease line to make a reverse fold inside the body of the elephant.


If you're drawing a blank on reverse fold, check out our instructions for the origami flapping bird.


folded elephant body        creasing for ears


reverse fold for ears       


Now unfold the trunk.


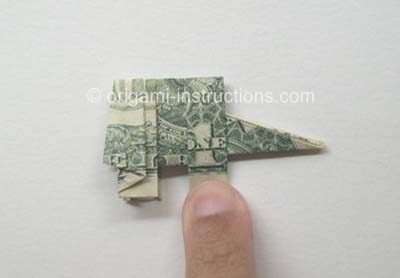
Next push the trunk into the body, making two valley folds (one on either side) along the trunk crease shown below.


The trunk crease lines will end up in contact with the front edge of the front legs.


It should look something like the photo below.


trunk crease again trunk folded


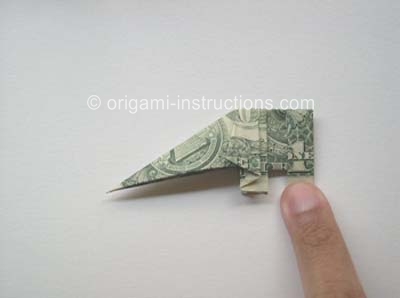
Next, crease then reverse fold the trunk so that it points down.


elephant trunk creased elephant trunk folded


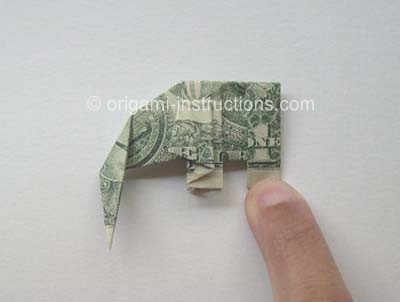
Do a couple more reverse folds to get the trunk pointing up, and the trunk tip pointing slightly back.


trunk folded up trunk tip folded back


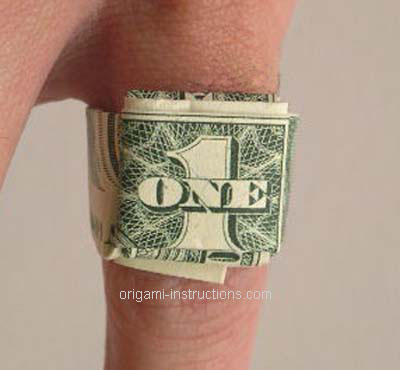
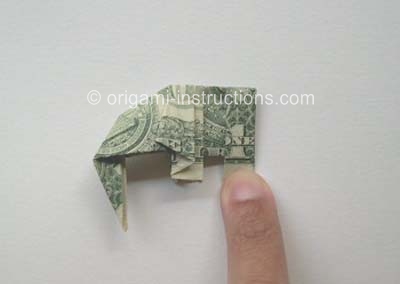
Now turn the elephant over and open the legs a bit. Valley fold out a small tail.


Now your elephant is ready to stand on his own four legs!


open elephant to make tail        elephant tail complete  


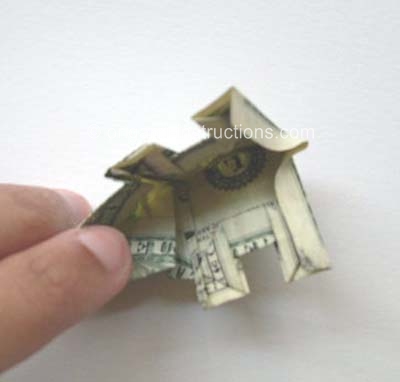
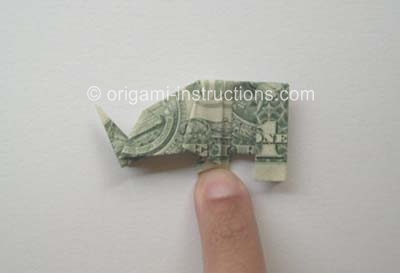
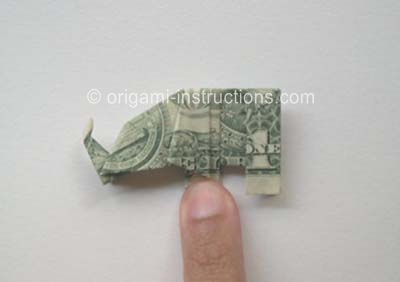
Note that the floating eye in the pyramid from the backside of the dollar bill lines up quite nicely to be the eye of the elephant. Neat!


If you're performing this little stunt at a bar, we hear that these little fellas like peanuts.                   


completed origami elephant

Money Origami Ring

The money origami ring with a dollar bill gives new meaning to the words "dime-in ring" (ten dimes, to be exact!). 


Start with a crisp new dollar bill.  First, turn the backside to face up. 


Then fold over just the white edge portions, as show in the second photo:


Money Origami Ring


dollar bill ready to fold        edges of bill folded over


Now fold the bill in half, lengthwise. 


Now fold the bill in half, lengthwise (is there an echo in here)?


bill folded in half lengthwise        bill folded in half lengthwise again


Then fold the white edge near the end of the folded bill.  Fold it away from you. 


Next, fold the "1" at that same end, so that the "1" is centered in a little square of folded money. 


white edge of bill folded        number one on bill folded


Now curve the rest of the bill slightly, in preparation for the curve to be folded later. 


Now lay the bill back down, and fold part of it upwards at 90 degrees, as shown. 


The exact length of the horizontal portion depends on the size of your ring finger! 


After you have folded the ring once and understand the process, the next time you should be able to measure your finger with the dollar bill and get fairly close to a perfect fit.


curve given to folded bill        90 degree fold in dollar bill


The piece of folded bill sticking up is now folded over the back of the horizontal piece, to end up straight down. 


Then flip the whole piece over as shown.


end of bill folded back down        bill flipped over


Remember the curved piece? 


Now roll it around to form a complete circle.  Line up the folds as shown. 


The wrap the vertical piece downwards....


ring portion formed        tail tucked down


...then back up through the center of the ring.  Almost there! 


Now we need to make the whole thing stick together. 


Take the folded end flap containing the "1", and tuck it into the edge of the vertical piece that you just wrapped.


  See the photo for where to tuck. 


You may need to use a fork, key, or other handy tool to open up that pocket slightly and get the flap tucked in.


tail tucked back up        tuck flap in


And now the money origami ring is ready to wear!


completed money origami ring